
How to Diagnose a Smartphone Charging Port Before Replacement
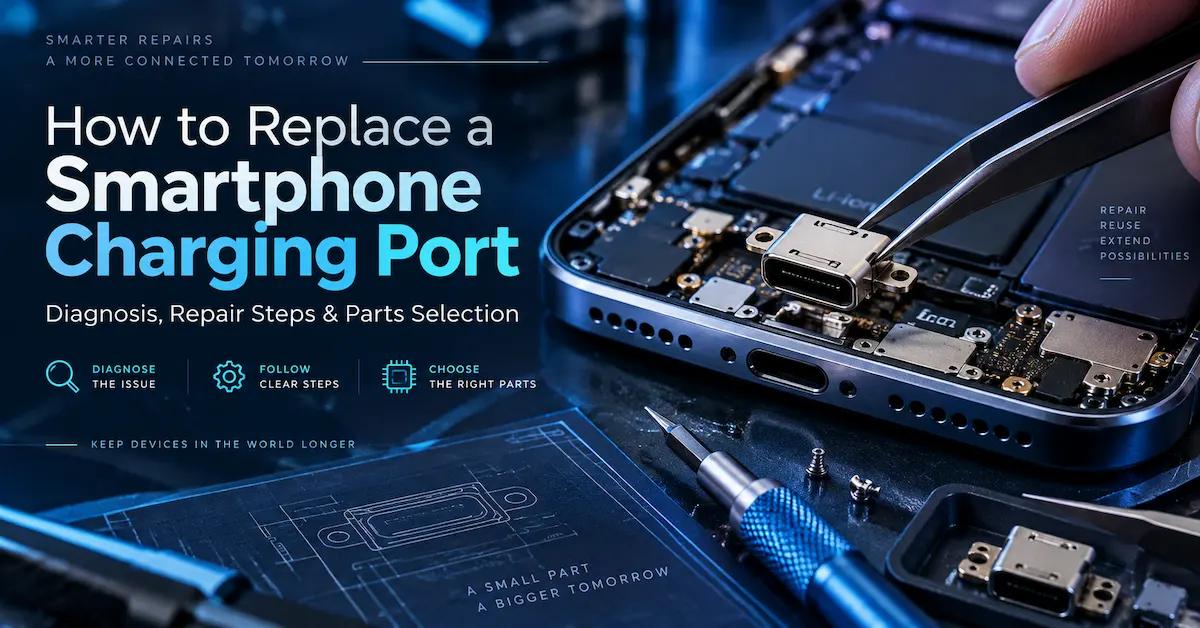
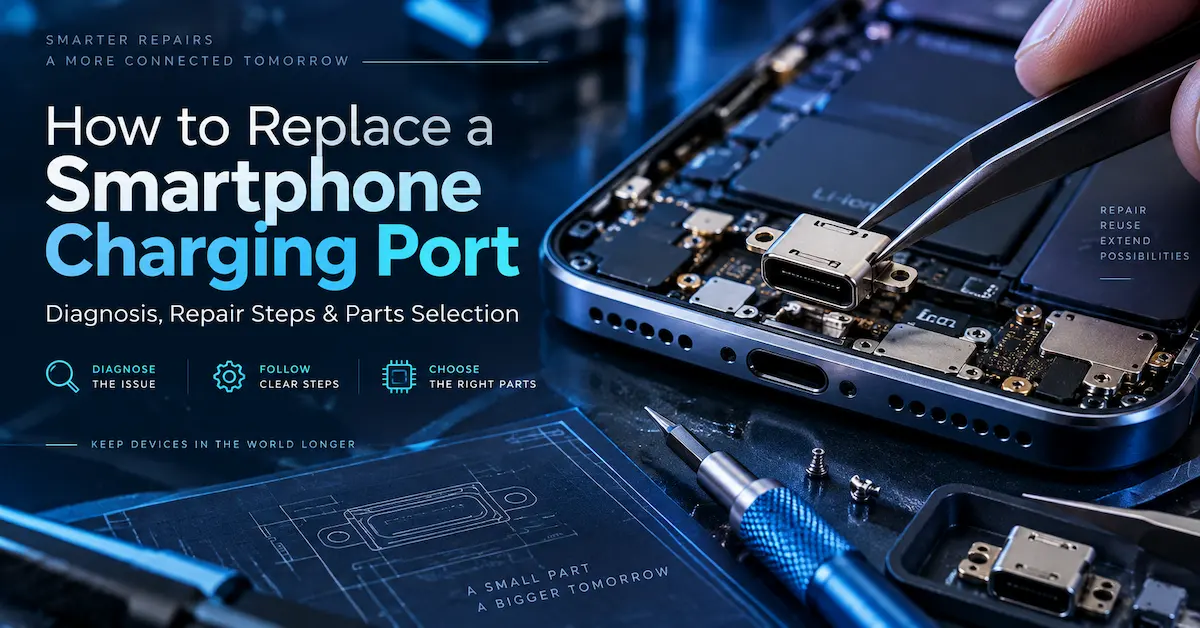
Learning how to replace a smartphone charging port should begin with diagnosis rather than disassembly.
A phone that does not charge does not automatically have a defective charging connector. Similar symptoms may be caused by the charging cable, adapter, accumulated debris, battery condition, damaged charging flex, daughterboard failure, corrosion, or faults within the charging-control circuit.
For professional repair shops, replacing parts without confirming the failure increases technician time, part consumption, and repeat repair risk.
The first question should therefore be:
Is the charging port itself actually responsible for the fault?
Start With the Reported Charging Symptom
Different symptoms point toward different possible causes.
A completely dead charging connection requires a different diagnostic approach from a connector that works only when the plug is held at an angle.
Common symptoms include:
-
no charging response;
-
intermittent charging;
-
charging only when the cable is moved;
-
slow charging;
-
fast charging no longer working;
-
loose cable fit;
-
USB data connection failure;
-
connector overheating;
-
visible corrosion;
-
physically damaged connector pins;
-
charging works but the microphone or other lower-board function fails.
The more precisely the symptom is recorded, the easier it becomes to isolate the actual component failure.
For commercial repair operations, this also creates a useful before-repair record. If another fault appears after service, the technician can compare the repaired device with its original condition.
Eliminate the Charger and Cable First
Before opening the phone, test it with a known-good charging cable and compatible power adapter.
This step appears obvious, but skipping it is one of the easiest ways to misdiagnose a charging problem.
A worn cable can create intermittent contact. An unsuitable adapter may prevent the device from entering its expected charging mode. A damaged connector on the charger side may also imitate a phone-port fault.
Professional shops should keep known-good reference cables and adapters for common interface types.
Inspect the Port for Debris and Mechanical Damage
Use adequate lighting and magnification to inspect the charging connector.
Pocket lint and compressed debris can prevent the plug from seating fully. The customer may interpret this as a worn charging port even when the connector itself remains functional.
Look for:
-
compacted lint;
-
bent internal contacts;
-
damaged connector tongue;
-
distorted metal shell;
-
corrosion;
-
liquid residue;
-
abnormal movement;
-
obvious foreign material.
Cleaning should be performed with the phone powered down and with tools suitable for electronic connectors.
Avoid aggressive scraping that could damage contacts.
Distinguish Port Failure From a Charging Circuit Fault
If the physical connector looks normal but the device still fails to charge, the diagnostic process should continue beyond the port.
Possible faults include:
-
battery failure;
-
damaged battery connector;
-
charging-management circuitry;
-
board corrosion;
-
damaged interconnect flex;
-
failed charging IC;
-
board-level short or power fault.
Repeatedly replacing the charging port will not solve a board-level problem.
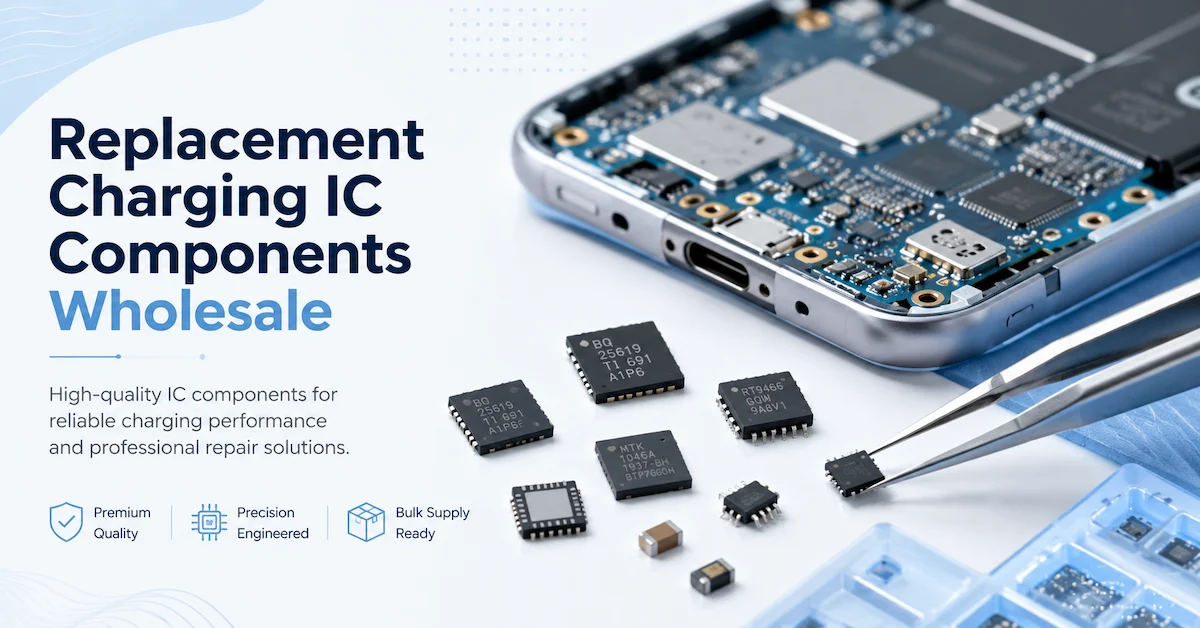
Repair businesses dealing with charging-circuit components can also review CPG's guide to replacement charging IC components when a charging problem appears to extend beyond the external connector.
Identify the Type of Charging Port Assembly
The term “smartphone charging port” is often used too broadly.
Depending on the phone, the repair part may be a simple charging socket, a flexible circuit assembly, a dock connector, or a complete daughterboard.
Selecting the wrong part type is one of the most common purchasing mistakes.
Charging Socket
A charging socket is the physical connector that accepts the external cable.
Examples may include:
-
USB-C;
-
Lightning-type interfaces;
-
Micro-USB;
-
other model-specific connectors.
In some designs, the socket is soldered directly to a printed circuit board.
Replacing it can require microsoldering skills, controlled heat, magnification, and experience with small PCB pads.
Charging Flex Cable
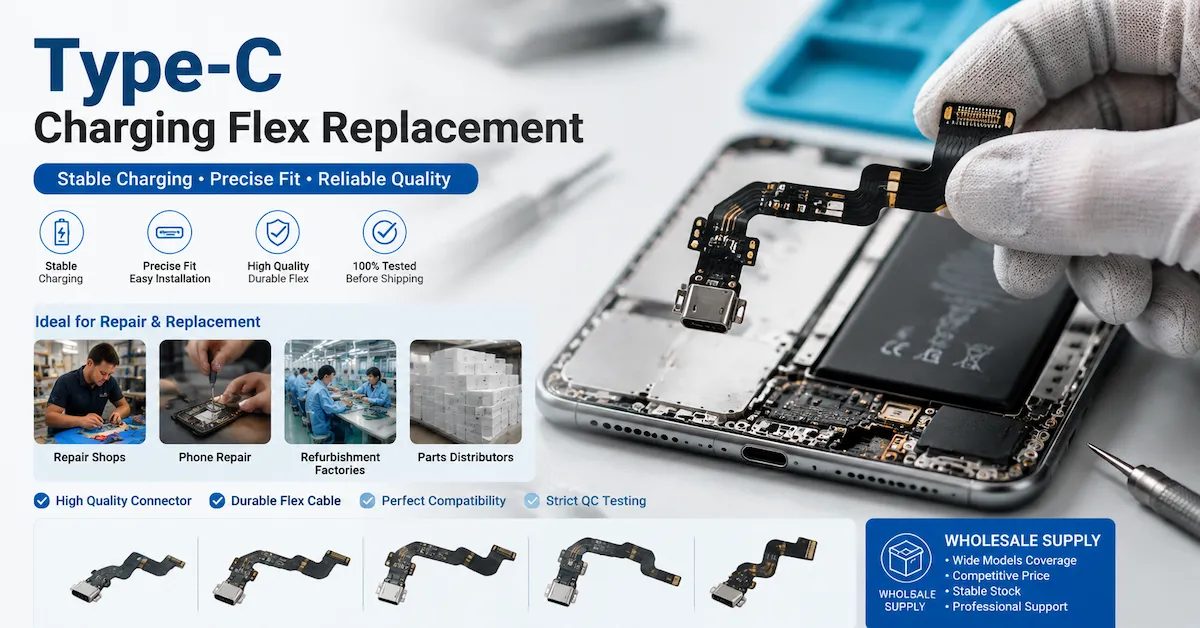
A charging flex combines the connector with a flexible printed circuit.
It may also carry additional electrical functions.
Depending on the phone, the assembly can incorporate:
-
microphone circuits;
-
antenna contacts;
-
data lines;
-
grounding contacts;
-
board connectors;
-
other lower-device functions.
Replacing a flex assembly is often more practical than replacing only the connector socket.
CPG currently lists model-specific components such as an iPhone 13 Pro charging flex cable replacement, showing why the exact phone configuration should be checked before ordering.
Charging Dock Flex
“Dock connector flex” is another description commonly used for integrated charging assemblies.
The connector can be combined with a model-specific flex layout that fits around speakers, screws, brackets, antennas, or other internal components.
An example in the CPG catalog is the LG G8 charging dock flex replacement.
This type of component should not be treated as a generic connector even when the external interface looks familiar.
Charging Daughterboard
Some smartphones place the charging port on a small secondary PCB.
This board may connect to the mainboard through a flex cable or board connector.
It can also carry other components.
CPG lists an Infinix Hot 9 Play X680 charger port with board flex cable, which illustrates the difference between buying a bare port and buying a port integrated with a board and flex structure.
Why Assembly Type Changes Repair Strategy
A repair technician should determine whether replacing the complete module is more economical than performing component-level soldering.
The lowest-priced component is not necessarily the lowest-cost repair.
A socket-only replacement may have a lower part price, but it can require:
-
more technician time;
-
microscope work;
-
soldering;
-
board heating;
-
cleaning;
-
pad inspection;
-
higher rework risk.
A complete flex or daughterboard may cost more per piece but reduce installation complexity.
For a repair business, the correct calculation is:
part cost + labor time + rework risk + warranty exposure
rather than part cost alone.
Confirm Exact Smartphone Compatibility Before Repair
Charging components are highly model-specific.
A replacement should not be selected only because the connector looks similar.
Record the Full Device Model
A technician or purchasing team should identify:
-
brand;
-
complete commercial model;
-
model code where available;
-
region or variant when relevant;
-
required assembly type.
For example, “Samsung USB-C port” is not a sufficient purchasing description.
Neither is “iPhone charging flex.”
The more generic the order description, the greater the risk of receiving an incompatible part.
Check Internal Layout, Not Only the External Connector
Two phones can both use USB-C but have completely different internal charging assemblies.
Differences may include:
-
PCB dimensions;
-
flex routing;
-
mounting holes;
-
connector location;
-
microphone position;
-
coaxial connectors;
-
grounding points;
-
antenna contacts;
-
component population;
-
board revision.
This is why “USB-C compatible” does not mean “compatible with every USB-C smartphone.”
Compare the New Part Before Removing the Old Assembly
Before committing to the repair, compare the replacement part with the original.
Check:
-
overall shape;
-
connector orientation;
-
flex length;
-
mounting points;
-
component positions;
-
cable connectors;
-
microphone openings;
-
grounding areas;
-
labels and markings.
If the two assemblies clearly differ, do not force installation.
Reconfirm the model and supplier reference first.
Prepare the Correct Tools and Repair Environment
The exact tool set depends on the device architecture.
A modular flex replacement and a soldered charging socket replacement should not be approached with the same equipment.
Basic Tools for Modular Charging Port Replacement
A professional bench may require:
-
ESD-safe work surface;
-
model-specific screwdrivers;
-
opening picks;
-
suction tool;
-
nonconductive spudgers;
-
precision tweezers;
-
magnification;
-
controlled heating equipment;
-
electronics-safe cleaning supplies;
-
replacement adhesive;
-
multimeter;
-
charging test equipment;
-
parts trays or screw maps.
The objective is controlled disassembly rather than force.
Tools for Board-Level Socket Replacement
If the port is soldered directly to a PCB, the repair can additionally require:
-
microscope;
-
soldering station;
-
hot-air equipment;
-
PCB holder;
-
flux;
-
solder;
-
solder wick;
-
fine tweezers;
-
fume extraction;
-
board-level diagnostic equipment.
There is no universal hot-air temperature that should be copied across all smartphones.
Board thickness, ground planes, nearby plastics, solder alloy, shielding, component density, and connector design vary.
Technicians should use a process appropriate to the exact board rather than applying a generic temperature profile.
Record the Device Condition Before Disassembly
Professional repair shops should record the device's functional state before opening it.
Check Existing Functions
Confirm whether the phone:
-
powers on;
-
charges;
-
transfers USB data;
-
has working microphones;
-
has working speakers;
-
has normal cellular signal;
-
has visible screen or housing damage;
-
shows signs of liquid exposure.
This provides a baseline.
A charging-port repair may require removing speakers, coax cables, flexes, or bottom assemblies. If a related function fails afterward, the technician should know whether that fault existed before the repair.
Document Physical Damage
Photographs can be useful in commercial repair environments.
Record:
-
cracked display;
-
bent housing;
-
damaged rear glass;
-
missing screws;
-
liquid indicators;
-
previous repair marks.
This is particularly useful for refurbishment operations processing large quantities of devices.
Power Down the Device and Manage Battery Risk
The device should be powered off before internal repair work begins.
Disconnect the Battery When Access Allows
Once the phone is opened, disconnect the battery before manipulating charging flexes or board connections whenever the repair procedure permits.
Working on energized internal connections creates unnecessary risk.
Stop if the Battery Is Swollen or Damaged
A swollen, punctured, leaking, excessively hot, or otherwise damaged battery should be treated as a separate safety issue.
Do not continue a routine charging-port procedure while ignoring an unsafe battery.
Battery condition can also affect charging diagnosis.
Replacing a port will not correct a failing battery.
Open the Smartphone Using the Correct Model-Specific Method
Different smartphones require different opening procedures.
Some are opened from the rear.
Others require display-side access.
Many use a combination of adhesive, clips, brackets, and screws.
Control Opening Depth
One of the biggest disassembly risks is inserting a pick too deeply.
Internal cables may be located close to the edge.
Possible damage includes:
-
display flex damage;
-
fingerprint cable damage;
-
battery puncture;
-
wireless charging coil damage;
-
antenna damage.
The technician should understand the internal layout before separating the panel.
Use Heat for Adhesive Control, Not Excessive Heating
Controlled heat can soften perimeter adhesive.
The objective is not to heat the entire phone aggressively.
Excessive heat can damage:
-
battery cells;
-
display layers;
-
plastic components;
-
adhesives that should remain in place.
Track Screw Locations
Smartphones often use screws of different lengths.
Mixing them during reassembly can create serious damage.
A repair tray or model-specific screw map improves consistency, particularly in high-volume repair shops.
Expose the Charging Port Assembly Carefully
The charging port is normally located near the bottom of the phone, but the exact access path varies.
Components That May Need Removal
Depending on the model, access may require removing:
-
bottom loudspeaker;
-
shields;
-
brackets;
-
antenna cables;
-
vibration motor;
-
interconnect flex;
-
board covers;
-
grounding contacts.
Do not pull any cable before identifying the connector type.
Small coax connectors are easy to damage.
Inspect Related Parts During Disassembly
Once the assembly is visible, inspect the surrounding area.
Look for:
-
corrosion;
-
torn flexes;
-
loose connectors;
-
damaged coax cables;
-
broken brackets;
-
contamination;
-
evidence of previous repair.
If corrosion extends into the mainboard or surrounding components, the charging port may only be one part of the failure.
Remove the Existing Charging Port Assembly
The correct removal technique depends on whether the part is modular or soldered.
Removing a Charging Flex or Daughterboard
After disconnecting the battery, identify every connection attached to the charging assembly.
This may include:
-
mainboard connector;
-
antenna cable;
-
microphone contact;
-
speaker contact;
-
grounding point;
-
adhesive;
-
mechanical bracket.
Remove screws and brackets in the correct sequence.
Lift the assembly gently.
If resistance remains, inspect the part again rather than pulling harder.
A hidden adhesive area or cable may still be attached.
Removing a Soldered Charging Socket
A soldered connector requires board-level technique.
The technician must consider:
-
connector anchor joints;
-
signal pins;
-
ground connections;
-
nearby components;
-
PCB pad condition.
Do not mechanically pull the connector while solder remains solid.
This can tear pads and convert a port replacement into a much more complex board repair.
Similarly, excessive hot-air exposure can damage nearby components or PCB layers.
Repair shops without regular microsoldering capability should consider whether a complete flex or daughterboard replacement is available.
For additional purchasing context, CPG provides a guide on how to source replacement charging sockets for repair shops.
Inspect the Original Failure Before Installing the New Part
The removed part often reveals why the phone failed.
Look for Mechanical Wear
Possible signs include:
-
loose connector shell;
-
distorted internal tongue;
-
worn contacts;
-
broken anchor points;
-
damaged socket housing.
Look for Liquid or Corrosion Damage
Corrosion may affect more than the port.
If residue is found on the flex, daughterboard, connectors, or mainboard, inspect the full affected area.
Installing a new charging connector without addressing active corrosion may result in another failure.
Inspect PCB Pads During Socket Repair
For soldered connectors, check whether pads remain intact.
A lifted signal pad or damaged ground pad may prevent proper operation even after a new connector is installed.
Pad repair should be completed before fitting the replacement connector.
Inspect the Replacement Charging Port Before Installation
Do not assume a new part is automatically installation-ready.
Visual Inspection
Check for:
-
bent connector shells;
-
damaged flex;
-
cracked PCB;
-
contaminated contacts;
-
missing components;
-
poor alignment;
-
broken mounting tabs;
-
abnormal soldering.
Compare Against the Original
The replacement should match the required structure.
A phone may use several similar parts across regional variants or production revisions.
If the new assembly differs substantially, stop and verify the supplier reference.
Test Before Final Installation When Possible
CPG's iPad Air 2 charging port flex cable replacement specifically advises testing the function before formal installation.
This is a useful repair principle.
Where the phone design permits, temporary functional verification before final sealing can prevent unnecessary reopening.
However, this statement should be understood as applying to the referenced product page rather than automatically being a published testing statement for every charging part in the CPG catalog.
Install the New Charging Port or Flex Assembly
Installation should not require force.
Position the Part Correctly
Ensure that:
-
mounting holes align;
-
flex cable follows the intended path;
-
connector sits at the correct height;
-
microphone openings align;
-
grounding contacts make proper contact;
-
antenna contacts remain correctly positioned.
A charging flex installed slightly out of position can create mechanical pressure or prevent the external cable from seating properly.
Avoid Sharp Flex Cable Creases
Flexible circuits are designed to bend in controlled areas.
Do not create sharp folds simply to make the replacement resemble the removed part.
Damaged conductive traces can produce intermittent faults that are difficult to diagnose.
Confirm Brackets and Seals
If the assembly uses:
-
brackets;
-
microphone seals;
-
acoustic mesh;
-
grounding plates;
-
insulating films;
make sure they are restored to the intended position.
Preliminary Test Before Closing the Phone
Do not completely reseal the device immediately after installing the new charging part.
Where safe and practical, perform an initial test first.
Verify Basic Charging
Connect an appropriate known-good charger and cable.
Confirm that:
-
the phone recognizes the charger;
-
charging begins normally;
-
the connection remains stable;
-
the cable seats properly;
-
the port does not move abnormally.
Check USB Data
If the connector supports data communication, test that function.
A charging port can pass power while failing data communication.
A repair shop that tests only the charging icon may therefore miss an incomplete repair.
Test USB-C Orientation
USB-C is reversible.
Where applicable, verify expected operation in both connector orientations.
A repair that works only in one orientation should be investigated rather than immediately accepted.
Verify Fast Charging Appropriately
Do not assume that a USB-C connector automatically supports every fast-charging mode.
Fast charging depends on:
-
device design;
-
charger;
-
cable;
-
charging assembly;
-
battery condition;
-
charging-control system.
Use compatible reference equipment if fast-charging performance is part of the repair requirement.
Test Functions Beyond Charging
Some charging assemblies integrate additional functions.
A successful repair should verify those functions as well.
Microphone Testing
Many bottom charging flex assemblies include microphone-related components.
Make a test recording or voice call when relevant.
Charging can work normally while microphone functionality fails because of:
-
incorrect part;
-
installation error;
-
damaged flex;
-
blocked acoustic path.
Antenna and Signal Checks
If antenna contacts or coax cables were removed during the repair, check signal-related functions.
Poor connector seating can create problems unrelated to charging.
Mechanical Connector Check
Insert and remove the charging cable normally.
The connector should feel stable and correctly aligned.
Avoid unnecessary stress testing that can damage a new part.
Temperature Check
Observe whether the repaired area develops abnormal heat during normal testing.
Unusual heating should be investigated before the phone is sealed.
Why a Phone May Still Not Charge After Port Replacement
A failed replacement does not always mean the new part itself is defective.
Incorrect Initial Diagnosis
The original fault may have been caused by:
-
battery;
-
charging IC;
-
board damage;
-
corrosion;
-
interconnect flex;
-
software or power-management issue.
Incorrect Part Variant
A visually similar flex may fit physically but differ electrically.
This is why model code and assembly configuration matter.
Installation Damage
A flex connector, coax cable, board pad, or replacement assembly can be damaged during repair.
Inspect the work before replacing another component.
Defective Replacement Part
Replacement parts can also fail.
This is why professional shops should maintain sample approval and receiving QC procedures.
Socket Replacement vs Complete Assembly Replacement
Choosing the repair method affects total service cost.
Socket-Only Replacement
Advantages include:
-
lower component cost in some repairs;
-
retention of the original surrounding board or flex;
-
suitable for experienced microsoldering technicians.
Potential disadvantages include:
-
longer labor time;
-
greater technical difficulty;
-
higher risk of PCB pad damage;
-
greater dependence on technician skill.
Flex Cable Replacement
Advantages may include:
-
faster installation;
-
reduced microsoldering;
-
replacement of connector and flex together.
Potential disadvantages include:
-
higher part cost;
-
need for exact model matching;
-
integrated functions can vary between versions.
Daughterboard Replacement
This can be efficient in high-throughput repair environments when the phone architecture uses a replaceable lower board.
However, the correct board revision is important.
Choose Based on Total Repair Cost
A practical repair operation should evaluate:
purchase price + technician labor + failure rate + rework + warranty cost
A part that costs slightly more but saves substantial technician time may be commercially preferable.
Common Mistakes When Replacing Smartphone Charging Ports
Replacing the Port Without Diagnosis
This wastes parts and time when the actual fault is elsewhere.
Ordering by Connector Type Only
“USB-C charging port” is not an adequate compatibility description.
Exact model matching remains essential.
Assuming Similar-Looking Flexes Are Interchangeable
Small differences in connector position or board layout can make two parts incompatible.
Skipping Pre-Sealing Testing
Finding a fault after adhesive and the housing have been restored increases rework cost.
Applying Excessive Heat
Board-level repairs require controlled thermal work.
More heat does not mean easier removal.
Damaging Other Components During Access
Speakers, antenna cables, microphones, flex connectors, and batteries can all be damaged during a charging-port repair.
Ignoring Water-Resistance Limitations
Opening a sealed smartphone can affect the original ingress protection.
Replacing adhesive does not automatically prove that factory-level water resistance has been restored.
Repair businesses should avoid making unsupported water-resistance guarantees.
How Repair Shops Should Buy Charging Port Parts
The purchasing process should reflect the same precision as the repair process.
Record Exact Part Requirements
Each purchasing line should include:
-
brand;
-
device model;
-
model code;
-
required part type;
-
connector type;
-
quantity;
-
supplier SKU or reference;
-
sample status.
Keep Charging Socket, Flex, and Board Orders Separate
Do not group them under a generic “charging port” description.
The terms describe different assemblies.
Approve Samples for New Models
For a new supplier or unfamiliar model, test samples before scaling the order.
The approval should document:
-
exact test device;
-
supplier reference;
-
physical fit;
-
charging;
-
data;
-
microphone where relevant;
-
other assembly functions.
This turns technician knowledge into a repeatable purchasing process.
Preserve Approved References
When reordering, use the previously approved SKU, photograph, or purchase-order reference.
Do not replace a precise identifier with a generic description.
Receiving QC for Bulk Charging Port Orders
Repair chains and refurbishment businesses should perform incoming quality control before parts reach technicians.
Check Packaging and Labels
Confirm that each model is clearly separated and identified.
Mixed charging flexes can look extremely similar.
Poor labeling increases picking errors even when the parts themselves are correct.
Perform Visual Inspection
Sample parts should be checked for:
-
connector damage;
-
bent shell;
-
flex damage;
-
cracked board;
-
missing components;
-
contamination.
Functional Test Selected Samples
Testing requirements depend on the assembly.
Possible checks include:
-
charging;
-
stable cable connection;
-
data;
-
microphone;
-
model fit.
Separate Failure Categories
Do not report every issue simply as “bad quality.”
Useful failure categories include:
-
wrong model;
-
physical damage;
-
charging failure;
-
data failure;
-
microphone failure;
-
unstable connector;
-
packaging error;
-
installation-related fault.
This distinction is important because the corrective action differs for every category.
Packaging and Logistics Considerations
Charging parts are small but mechanically sensitive.
Protect Connector Geometry
A bent connector can make an otherwise functional part unusable.
Protect Flexible Circuits
Flex cables should not be tightly folded or crushed during packaging.
Separate Similar Models
Clear labeling is particularly important for distributors carrying many phone models.
CPG's LG G8 charging dock flex replacement lists product-specific packaging information. Buyers should nevertheless confirm packing for the exact SKU being ordered instead of assuming one packaging method applies across the whole catalog.
Building a Charging Port Inventory for a Repair Shop
A repair business should not stock every charging connector equally.
Use actual repair demand to create the inventory plan.
Identify Frequently Repaired Models
Review historical service orders.
Determine which smartphone models regularly require charging-related repair.
Separate Inventory by Repair Method
Create different inventory groups for:
-
socket-only parts;
-
charging flex cables;
-
dock flexes;
-
daughterboards;
-
complete charging assemblies.
Consider Technician Capability
A shop without microsoldering capability should not build an inventory strategy around socket-only replacements.
A board-repair lab may make a different decision.
Track Failure and Reorder Data
Record:
-
monthly usage;
-
return rate;
-
wrong-part rate;
-
repeat repair rate;
-
average installation time.
These operational numbers help a business decide which parts should be stocked and which should be ordered only when needed.
For businesses preparing larger multi-model orders, CPG's guide on charging port spare parts bulk orders provides additional purchasing context.
How to Choose a Charging Port Supplier
A professional supplier evaluation should focus on order accuracy and repeatability rather than generic claims such as “high quality.”
Check Product Identification
Can the supplier clearly distinguish:
-
socket;
-
flex;
-
dock connector;
-
daughterboard;
-
full assembly?
Check Model Coverage
A wider catalog can reduce the need to purchase from many different vendors.
The CPG mobile phone parts catalog includes display, small-part, battery, charging, accessory, and repair-related categories for multiple brands.
Confirm Sample Availability and MOQ
CPG's current FAQ explains that MOQ varies by product category and also states that more flexible MOQ may be available for new customers and sample orders.
Charging-port buyers should confirm the MOQ for the exact required SKU rather than applying the MOQ of another product category.
Confirm After-Sales Procedure
Before a large order, clarify how:
-
wrong parts;
-
damaged products;
-
functional failures;
-
quantity differences;
should be reported.
This can reduce disputes later.
Prepare a Better Charging Port RFQ
A clear RFQ speeds up quotation and compatibility confirmation.
Instead of writing:
“Need charging ports. Send best price.”
provide:
Device Information
-
brand;
-
exact model;
-
model code where applicable.
Part Information
-
socket;
-
flex cable;
-
dock flex;
-
daughterboard;
-
full assembly.
Commercial Information
-
quantity for each model;
-
destination country;
-
sample requirement;
-
packaging or labeling requirements.
Compatibility Questions
If the exact configuration is uncertain, state that clearly.
It is better to ask the supplier to confirm than to place an order based on an assumption.
Buyers can review the CPG product catalog and send their detailed model list through the CPG contact page.
Frequently Asked Questions About Smartphone Charging Port Replacement
Can a Smartphone Charging Port Be Replaced Without Soldering?
Yes, on some models.
Phones using a modular charging flex or daughterboard may allow assembly replacement without socket-level soldering.
Other devices have a port soldered directly to a PCB and require microsoldering.
Confirm the internal structure before starting the repair.
How Do I Know Whether the Charging Port Is Bad?
Look for physical damage, unstable cable connection, corrosion, poor plug fit, or charging/data failures after known-good external accessories have been tested.
Do not assume every no-charge condition is caused by the port.
Is Charging Port Replacement Difficult?
Difficulty depends heavily on the phone.
A modular daughterboard can be relatively straightforward for an experienced technician.
A board-mounted USB-C connector can require advanced soldering skills.
Can a Damaged Charging Port Cause Slow Charging?
It can contribute to unstable or poor charging performance, but slow charging also has other possible causes.
These include charger, cable, battery, charging protocol, software, and board-level faults.
Diagnosis should come before replacement.
What Is the Difference Between a Charging Port and Charging Flex?
The charging port is the physical interface used by the external cable.
A charging flex is a larger flexible circuit assembly that can contain the port and other electrical functions.
Why Does the Phone Charge but USB Data Does Not Work After Repair?
Power and data use different electrical paths.
A mismatched or defective part, connector problem, damaged flex, installation issue, or board fault can restore charging while data remains unavailable.
Should Repair Shops Buy Socket-Only Ports or Complete Flexes?
It depends on technician capability and repair economics.
Socket-only repair may suit microsoldering specialists.
Complete flexes or daughterboards may suit shops prioritizing faster standardized repair.
Should Charging Port Samples Be Tested Before Bulk Orders?
Yes, particularly for unfamiliar models, variants, or suppliers.
Test fit, charging, data, and any additional functions integrated into the assembly.
What Information Is Needed to Order a Smartphone Charging Port?
Provide the exact brand, model, model code when available, required assembly type, quantity, and destination.
Do not order using only a connector description such as “USB-C port.”
Where Can Repair Businesses Find Model-Specific Charging Parts?
CPG provides a multi-brand mobile phone repair parts catalog that includes small parts and charging-related components. Buyers can identify relevant products and then use the contact page to confirm exact models and quantities.
Conclusion
Replacing a smartphone charging port successfully depends on three things: correct fault diagnosis, exact part compatibility, and complete post-repair testing. Repair shops should distinguish sockets, flex cables, dock flexes, and daughterboards before ordering, then test charging, data, and any integrated functions before final reassembly, smartphone charging port replacement.
For multi-model or bulk requirements, review the CPG mobile phone repair parts catalog and submit exact models, part types, quantities, and sample requirements through the CPG contact page.